Marker-Making Request Guide
Introduction
Marker making is a vital step in the garment production process, where efficiency and precision significantly impact the final product. Whether you're producing a small batch or handling large-scale production, a well-organized marker-making request is crucial. This guide provides a clear and practical example of how to place a marker-making request, ensuring all necessary details are considered and communicated effectively.
Simple Guide to Placing a Marker-Making Request
Placing a marker-making request involves providing detailed information to ensure accuracy and efficiency in production. Here's how you can organize your request:
Step 1: Gather Fabric and Size Information
| Fabric Type | Cuttable Width | Sizes | XXS | M | L | Total Sizes |
|---|---|---|---|---|---|---|
| Self | 60" | Ratio | 1 | 3 | 2 | 6 sizes |
| Lining | 58" | Ratio | 1 | 3 | 2 | 6 sizes |
| Fusing | 48" | Ratio | 1 | 3 | 2 | 6 sizes |
| Marker Direction | One-Way | 18 sizes | ||||
Step 2: Analyze the Customer's Order
- Determine the size breakdown needed for each garment or style.
- Identify the quantity of each size required to complete the order, considering varying demands for different sizes.
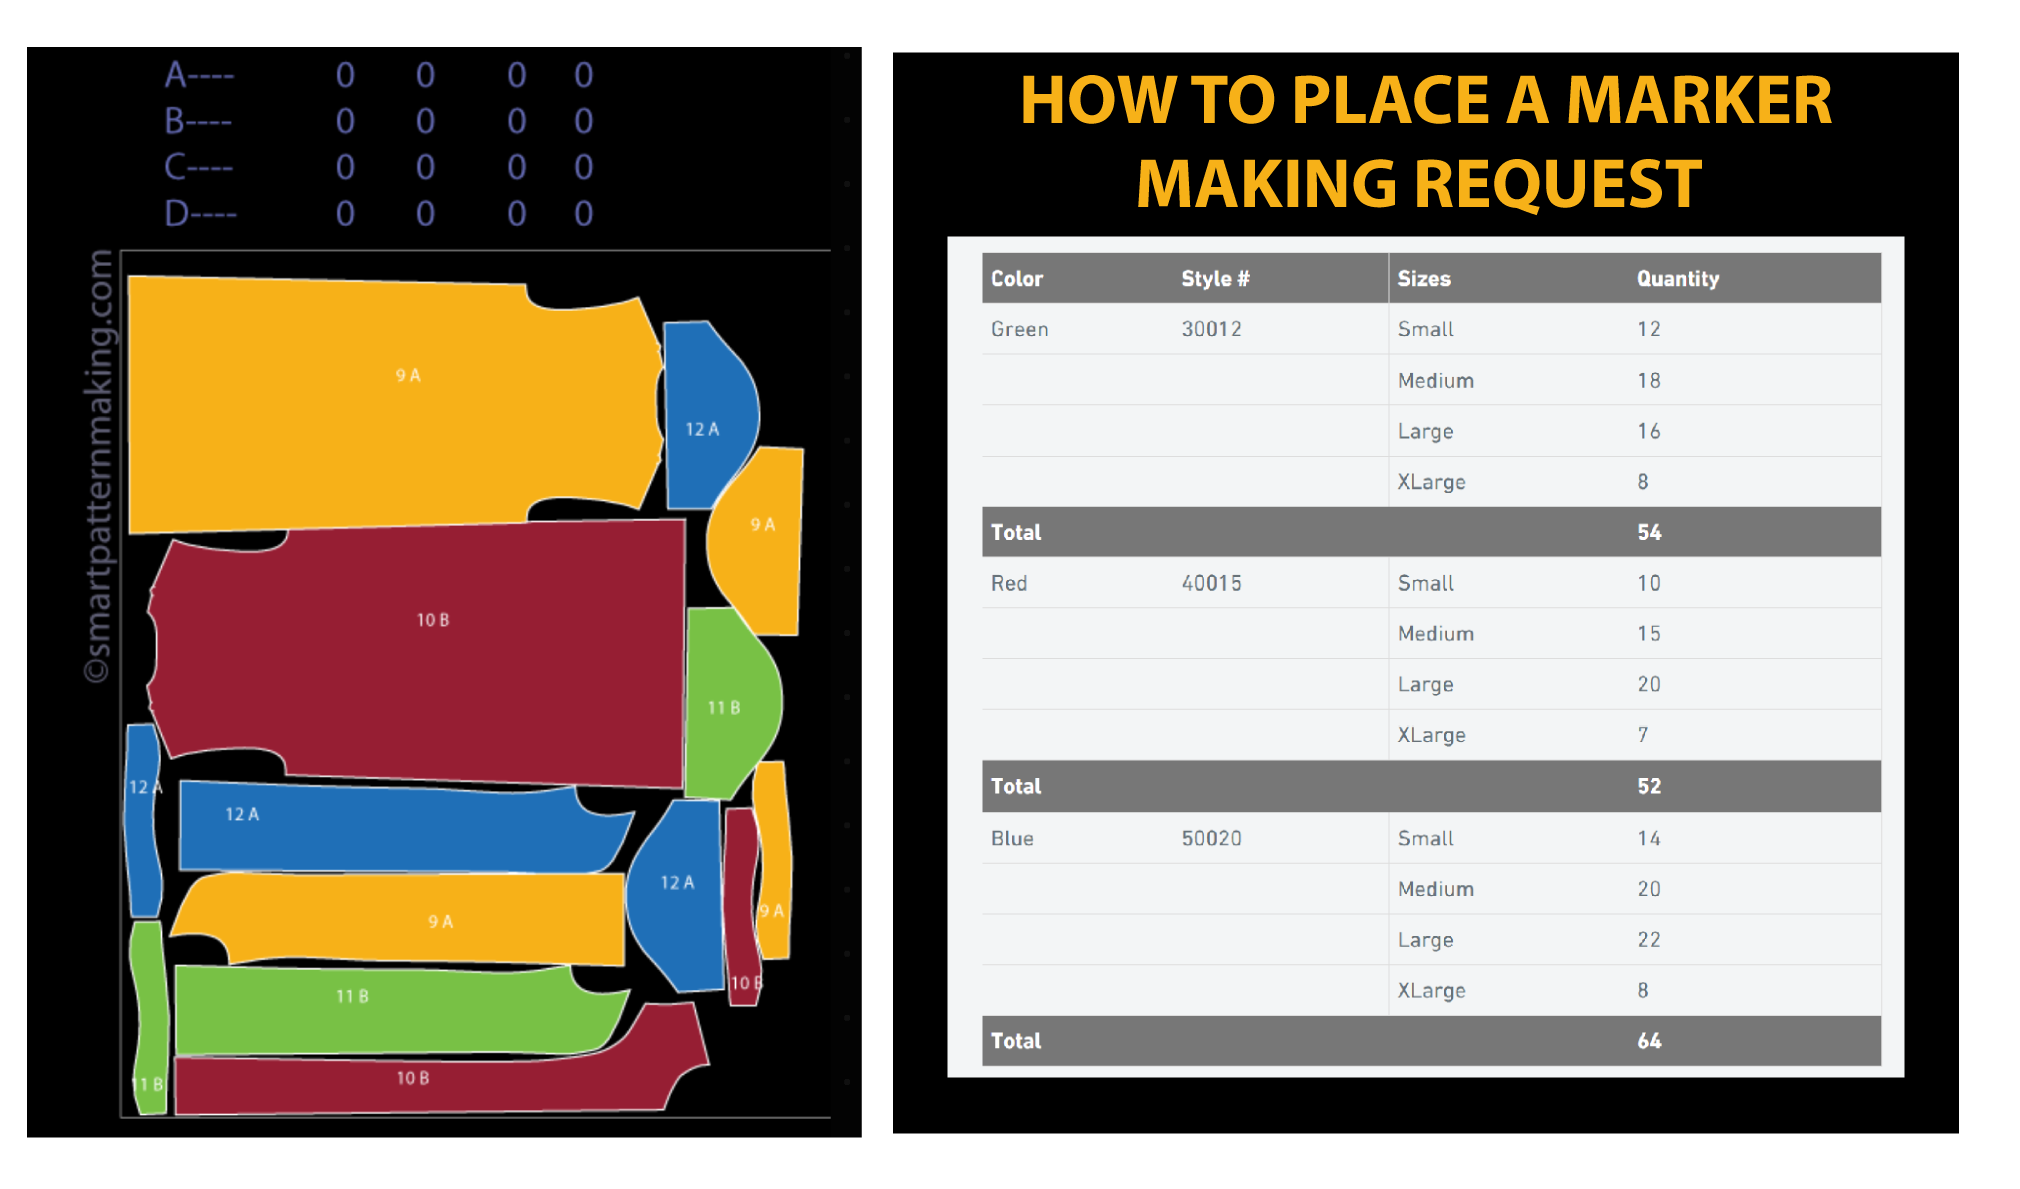
Step 3: Organize the Cutting Ticket Order
Organize your cutting ticket order clearly to ensure efficient production:
| Color | Style # | Sizes | Quantity |
|---|---|---|---|
| Green | 30012 | Small | 12 |
| Medium | 18 | ||
| Large | 16 | ||
| XLarge | 8 | ||
| Total | 54 | ||
| Red | 40015 | Small | 10 |
| Medium | 15 | ||
| Large | 20 | ||
| XLarge | 7 | ||
| Total | 52 | ||
| Blue | 50020 | Small | 14 |
| Medium | 20 | ||
| Large | 22 | ||
| XLarge | 8 | ||
| Total | 64 | ||
This table format clearly outlines the quantities for each color and size combination, making it easy to review and organize your cutting ticket order for marker-making.
Step 4: Calculate Size Ratios
- Determine Total Units: Identify the total number of units you need to produce or order.
- Assign Quantities for Each Size: Decide how many units are required for each size, based on demand or sales data.
- Formula to Calculate Size Ratios:
- Use the formula: Size Ratio = (Quantity of Size) / (Total Quantity of All Sizes)
Step 5: Simplify Ratios
Convert the ratios to whole numbers by dividing each by the smallest ratio or using a common factor.
Example
For 100 units with sizes Small, Medium, and Large:
- Small: 30 units (Ratio: 0.30)
- Medium: 50 units (Ratio: 0.50)
- Large: 20 units (Ratio: 0.20)
The size ratio simplifies to 3:5:2, meaning for every 10 units, produce 3 Small, 5 Medium, and 2 Large.
Practical Tips
- Use Ratios for Orders: Apply these ratios when ordering to ensure a balanced stock.
- Adjust Regularly: Review and update ratios based on new sales trends or market data to stay aligned with demand.
This method helps optimize production and inventory management, ensuring you meet customer needs without overproducing any size.
Step 6: Calculate Total Sizes Using Ratio Sizes
If you’re using a ratio-based approach:
| Size | Ratio (Number of Times Marked) |
|---|---|
| XXSmall | 1 |
| XSmall | 2 |
| Small | 3 |
| Medium | 5 |
| Large | 4 |
| XLarge | 3 |
| XXLarge | 2 |
| Total Sizes (Sum of Ratios) | 20 |
Step 7: Final Calculation with Multiple Fabrics
Combining ratios and multiple fabrics:
| Total Sizes (Sum of Ratios) | Number of Fabrics | Total Sizes to be Marked on Marker |
|---|---|---|
| 20 | 3 | 60 |
This calculation ensures that all size and fabric combinations are accurately accounted for in your marker-making request.
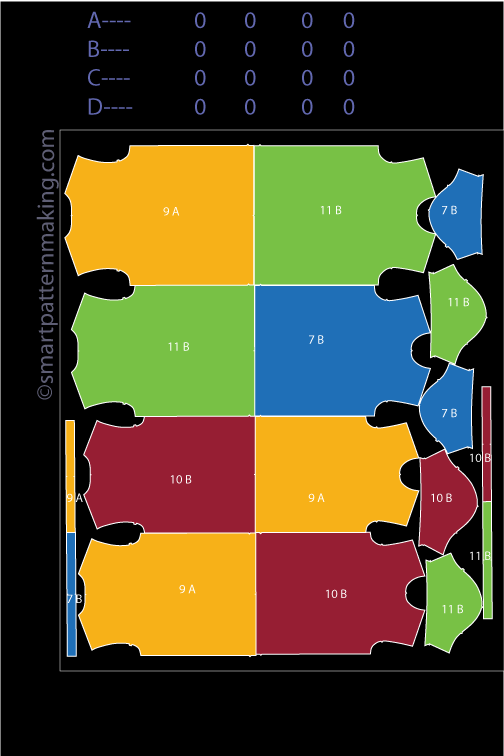
Step 8: Choose Marker Layout Method
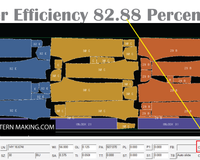
Marker layout methods refer to the strategic arrangement of pattern pieces on fabric during the cutting process in garment production. The goal of these layouts is to optimize fabric utilization, minimize waste, and ensure that the final cut pieces meet the required specifications for assembly. Here’s a breakdown of the different marker layout methods:
| Marker Type | Description |
|---|---|
| One-Way Marker | Ideal for fabrics with a clear directional print or nap. All pattern pieces are aligned in the same direction to maintain consistency in appearance and texture. |
| Two-Way Marker | Allows pattern pieces to be placed in two different directions. Suitable for non-directional fabrics, leading to better fabric utilization compared to one-way markers. |
| Single Size Markers | Dedicated to a single size, optimizing the layout for that specific size. Useful when producing garments in one size at a time, minimizing fabric waste. |
| Separated Sizes | Separate markers are created for each size, maximizing fabric efficiency by tailoring the layout to the specific dimensions of each size's pattern pieces. |
| Mixed Sizes | Combines multiple sizes within a single layout, offering production flexibility. Requires careful planning to ensure efficient fabric use and correct alignment. |
Step 9: Fabric Information
- Details About Fabric: Specify the fabric width, type (e.g., knit, woven), and any specific considerations such as one-way prints, naps, or no specific direction. These details will affect how pattern pieces are oriented during marker-making.
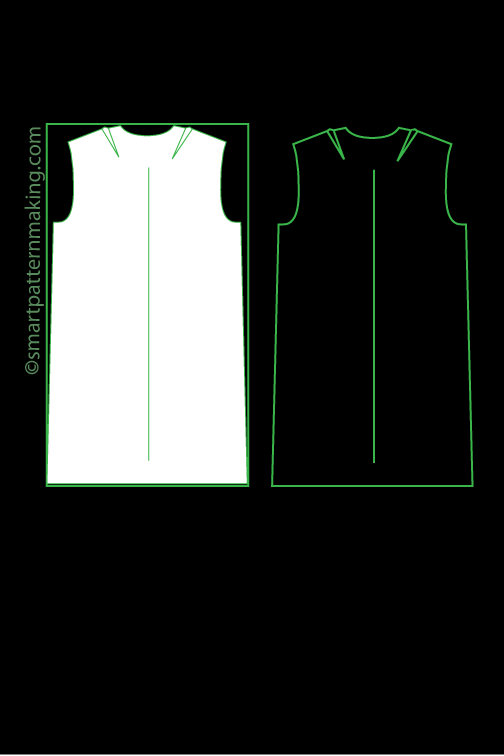
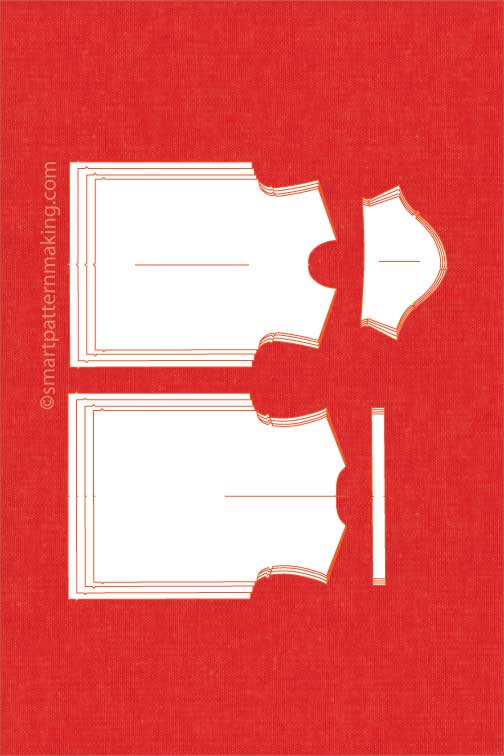
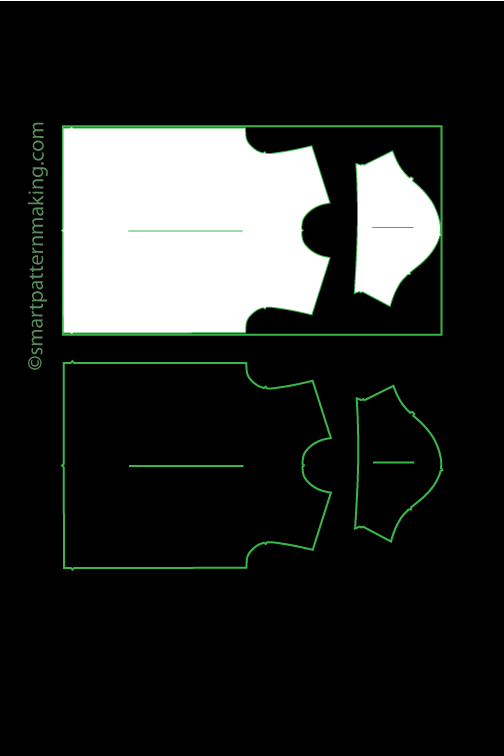
Step 10: Pattern Pieces Layout
- Layout Consideration: Clearly define how the pattern pieces should be laid out, taking into account marker direction and fabric utilization to optimize production.
Conclusion
Following these guidelines ensures a smooth and efficient marker-making process. A well-prepared marker-making request not only saves time but also maximizes fabric utilization, leading to a more efficient and cost-effective garment production.
----------------------
Ready to take your sustainable fashion ideas to the next level?
Design your custom patterns, transform them into digital files, resize them for the perfect fit, convert to DXF format, and produce your prints effortlessly! Let us help you create eco-friendly garments that look great and respect the planet— get started with us today!
Loved reading this article and found it valuable? If so, show us some love and buy us a coffee! ☕ :)
Developing tools and creating valuable content requires countless hours of work and extensive research—ensuring you have them at your disposal. Additionally, keeping this site ad-free and covering operational expenses demands significant resources.
If our work helps you, please consider supporting us. Your donation allows us to continue providing more valuable tools, fresh content, and the top-notch services you deserve.
Thank you so much for your support!
-------------------